***ALL PROCEDURES SHOULD BE DONE IN FRONT OF A LAMINAR FLOWHOOD OR A GLOVE BOX AT THE VERY LEAST TO MAKE ASEPTIC PRINTS***
**ALL TOOLS AND CONTAINERS STERILIZED W/ EITHER RUBBING ALCOHOL, LYSOL, FLAME, OR A COMBINATION OF, WHERE APPROPRIATE!!!**
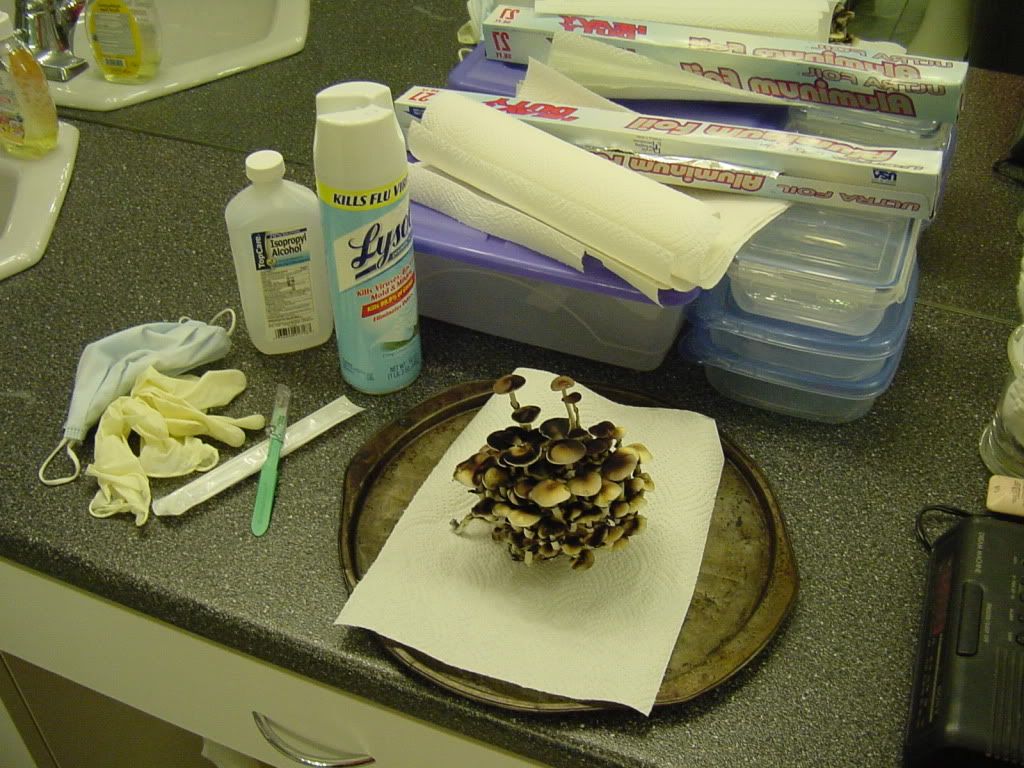
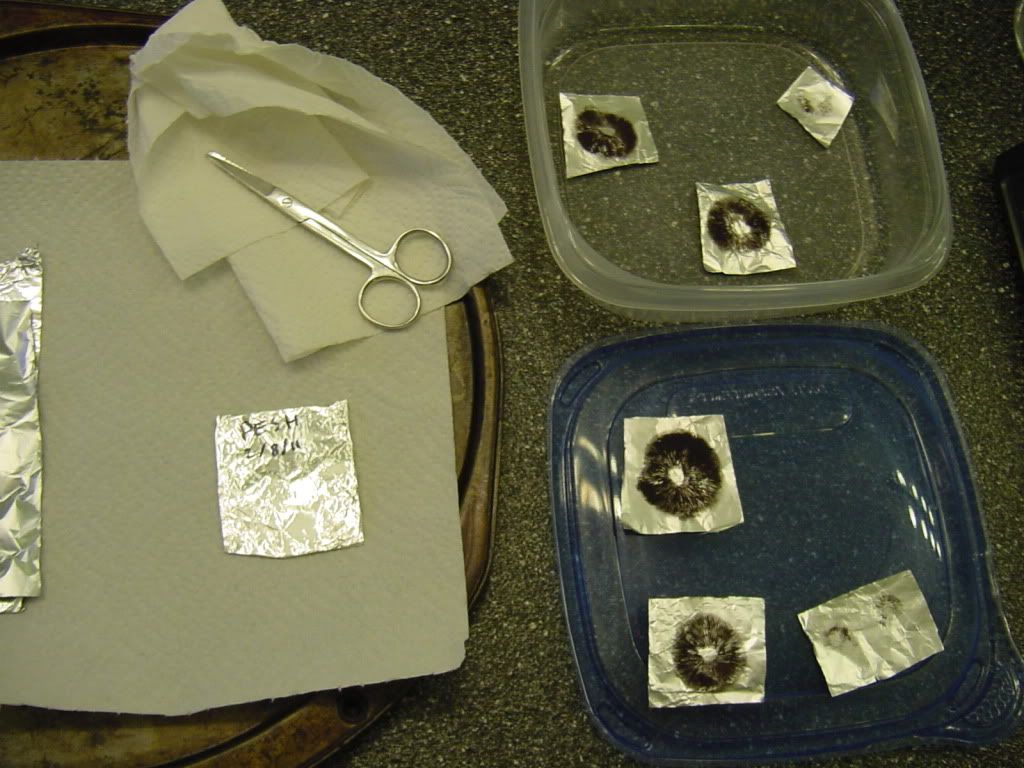
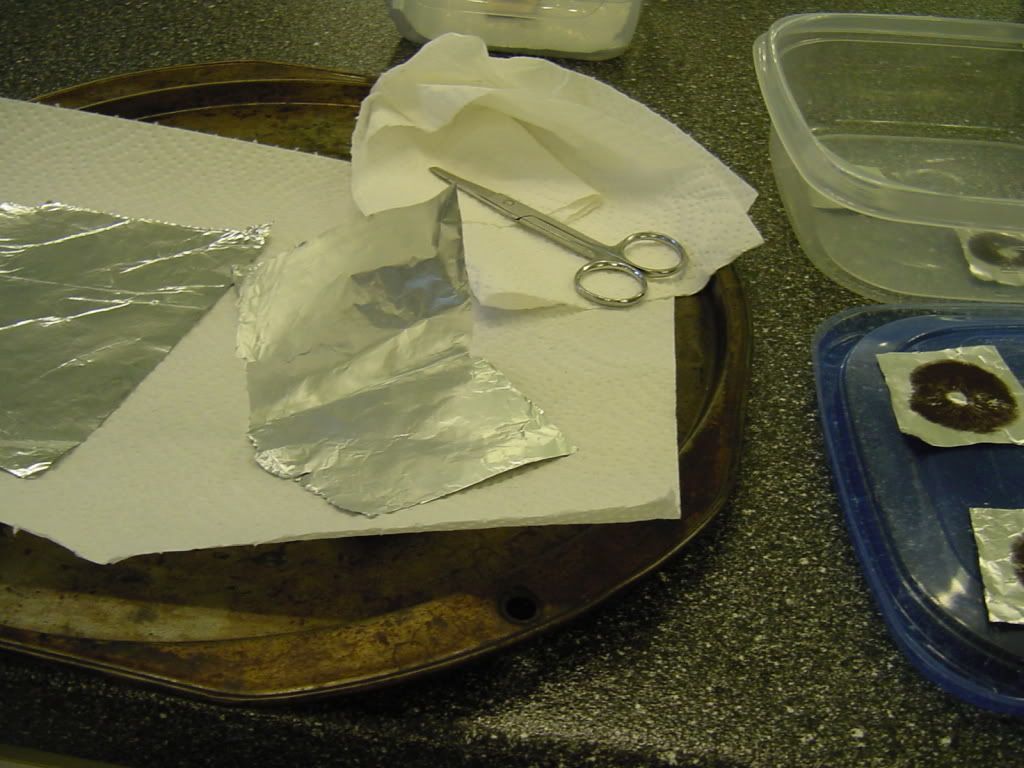
First get your supplies ready...
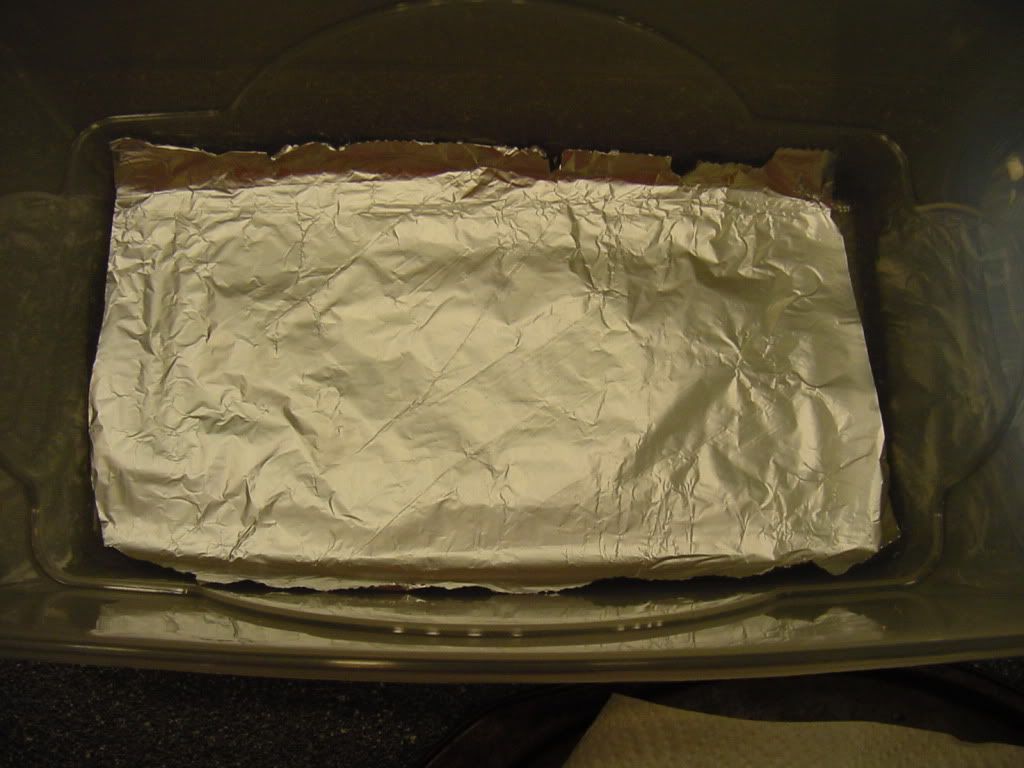
You can either cut out individual pieces of foil to line the bottom of your containers (pictured later) or you can use one big sheet, which I feel allows you to get the maximum amount of prints for the same amount of space. Whichever route you decide to take (even though RR says it's not needed) I like to wipe down each side of foil w/ rubbing alcohol and allow to dry...
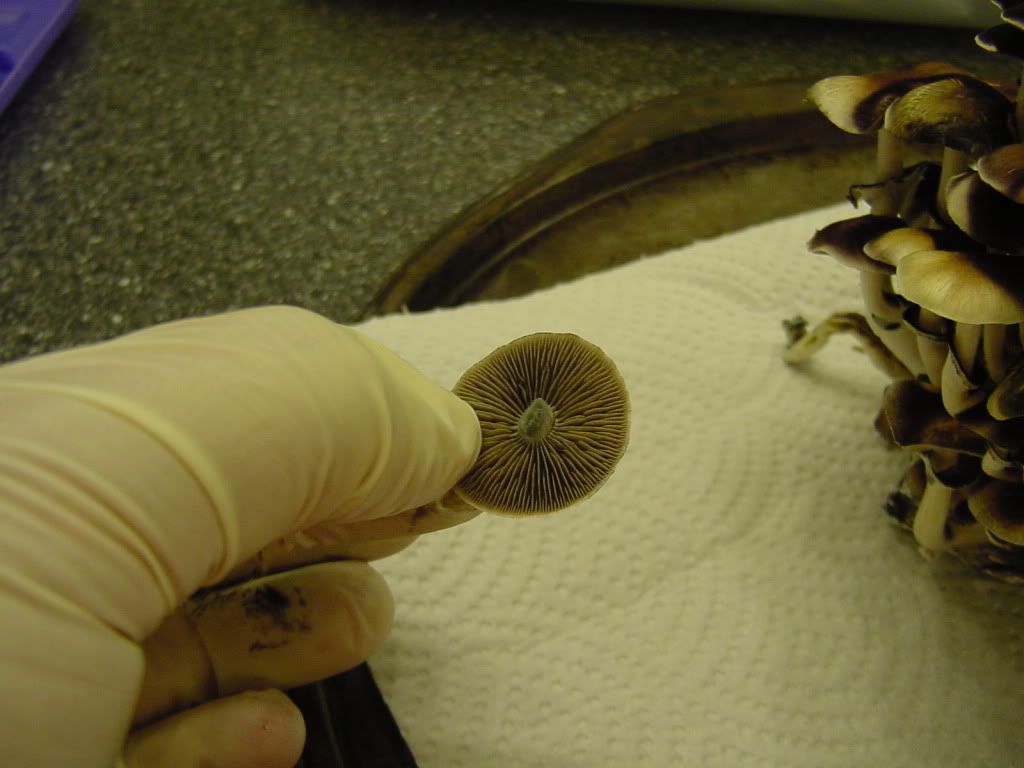
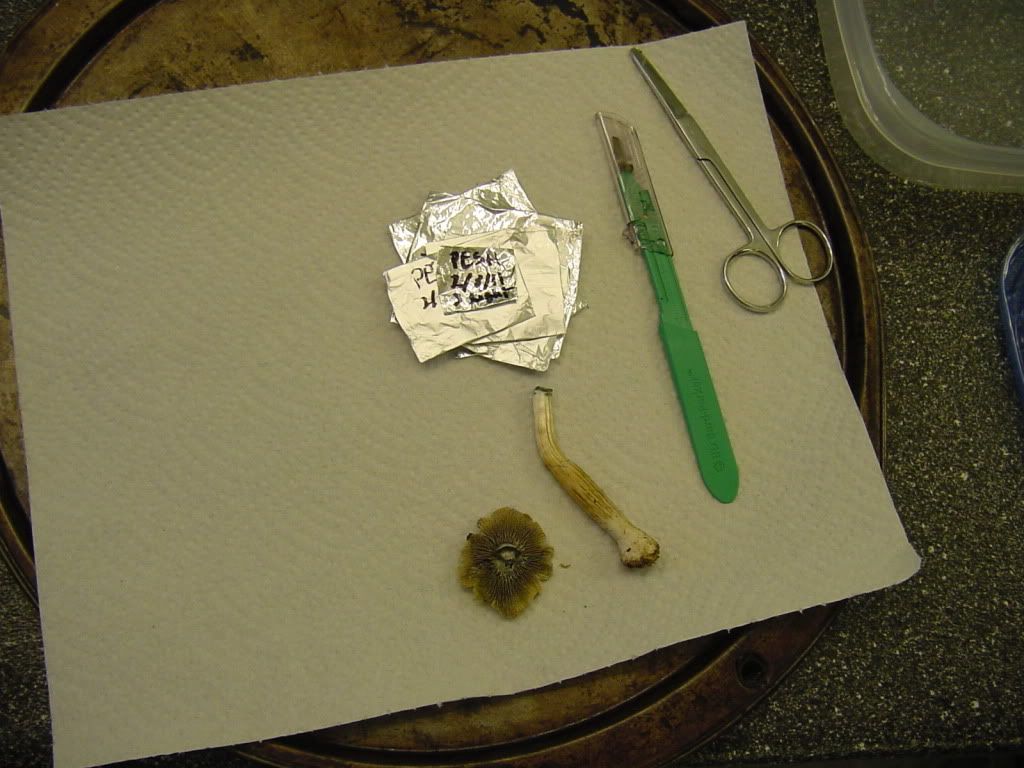
Now it's time to take the caps off. Using either a scalpel or scissor that has been cleaned w/ rubbing alcohol and flame sterilized cut the stem as close as possible to the gills w/ out touching them...
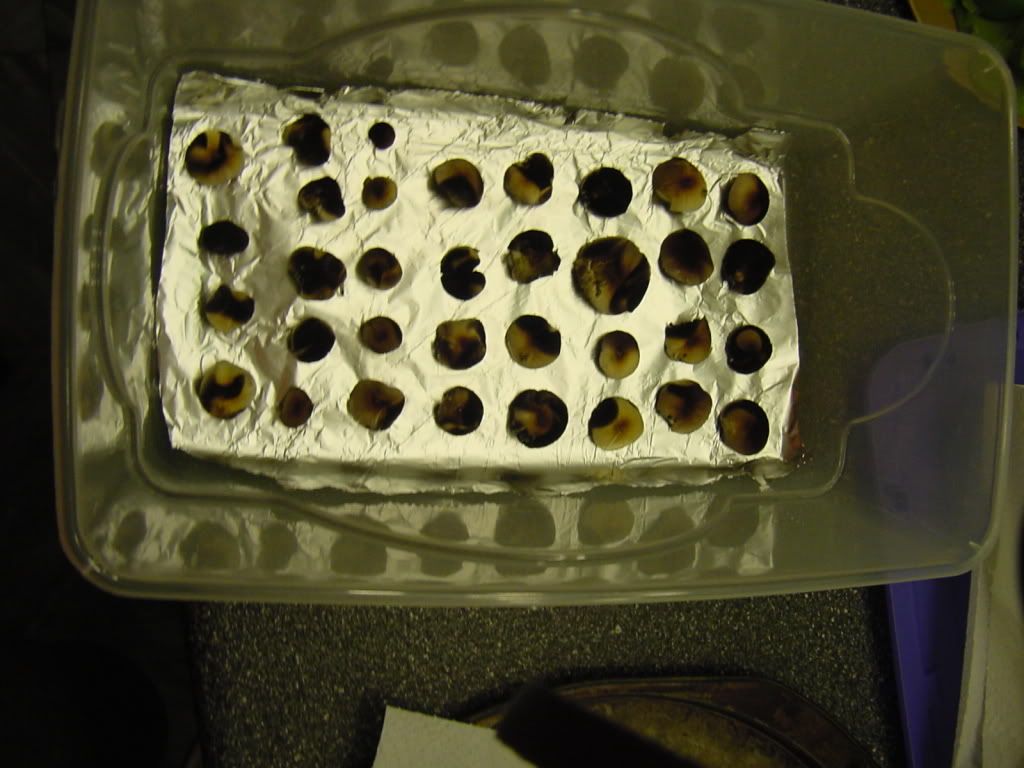
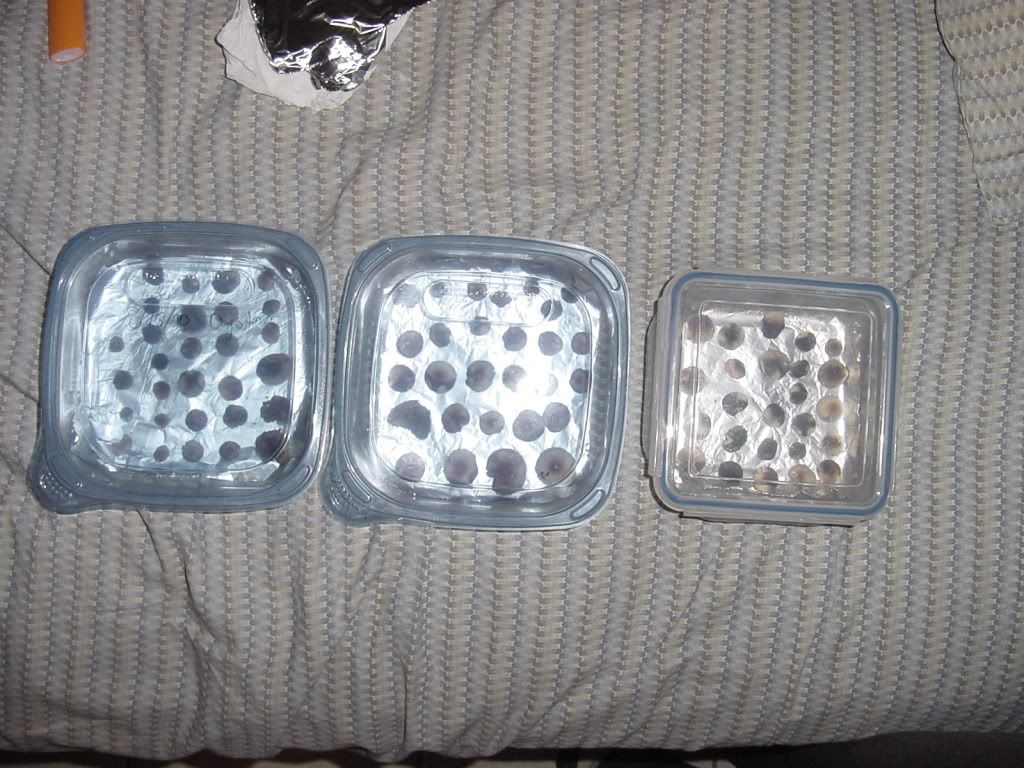
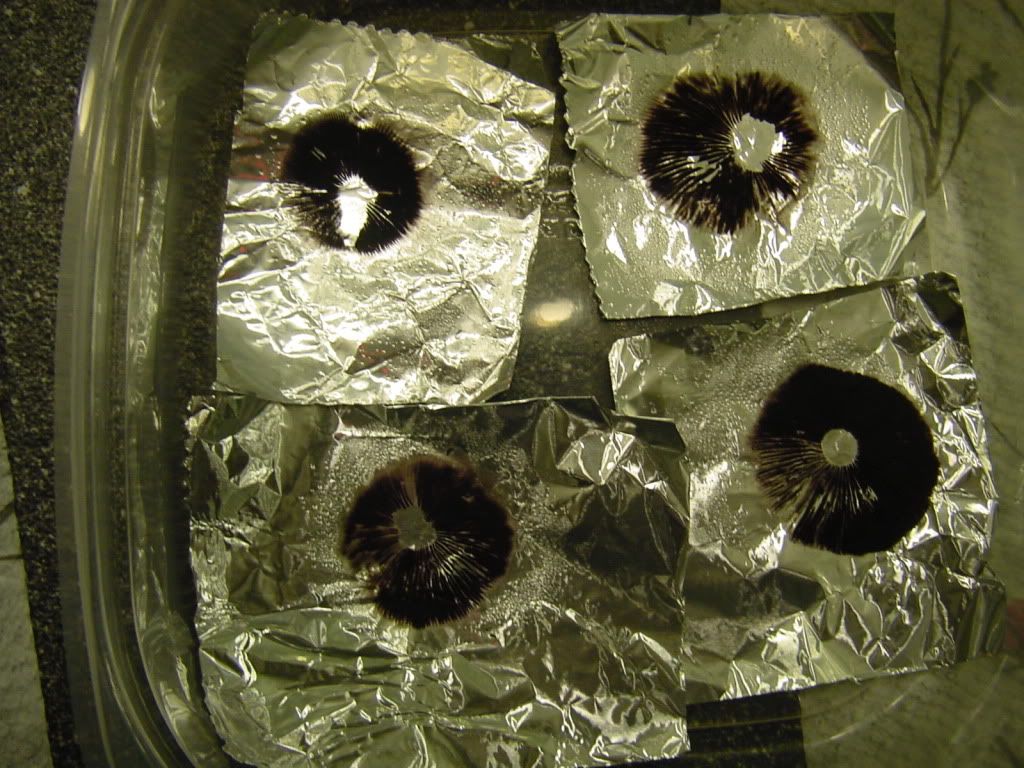
Now it's just a matter of filling up your containers, putting the lid on, and storing in a dark place...
Here's some where I pre-cut the pieces of foil...
---------------------------------------------------
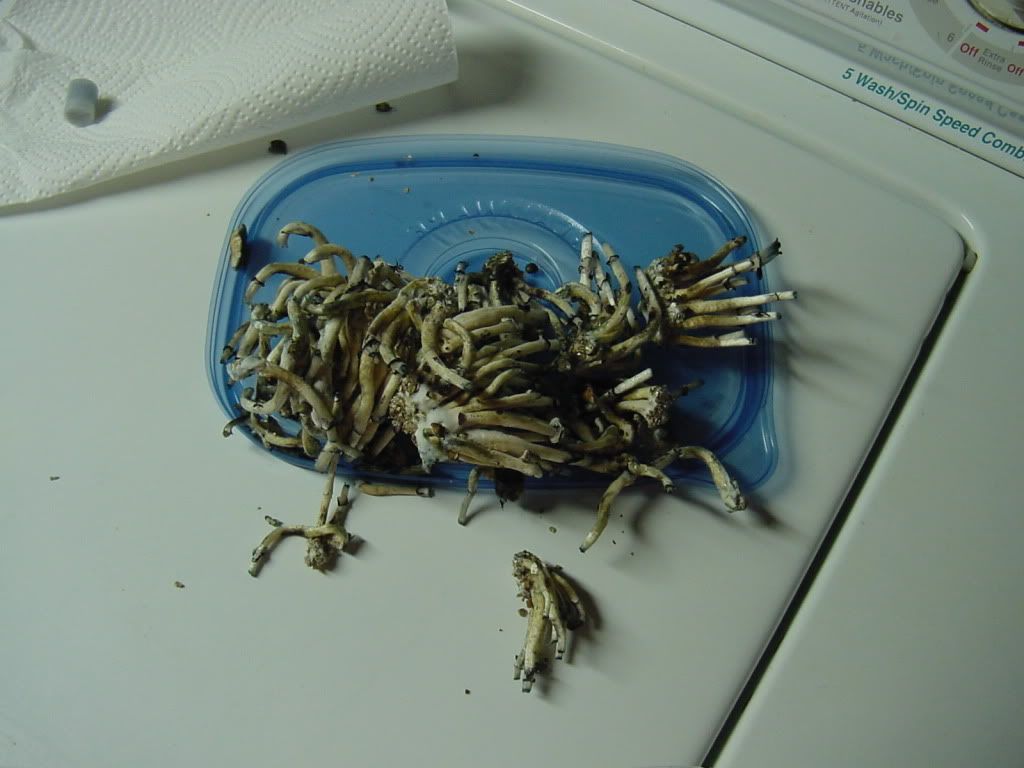
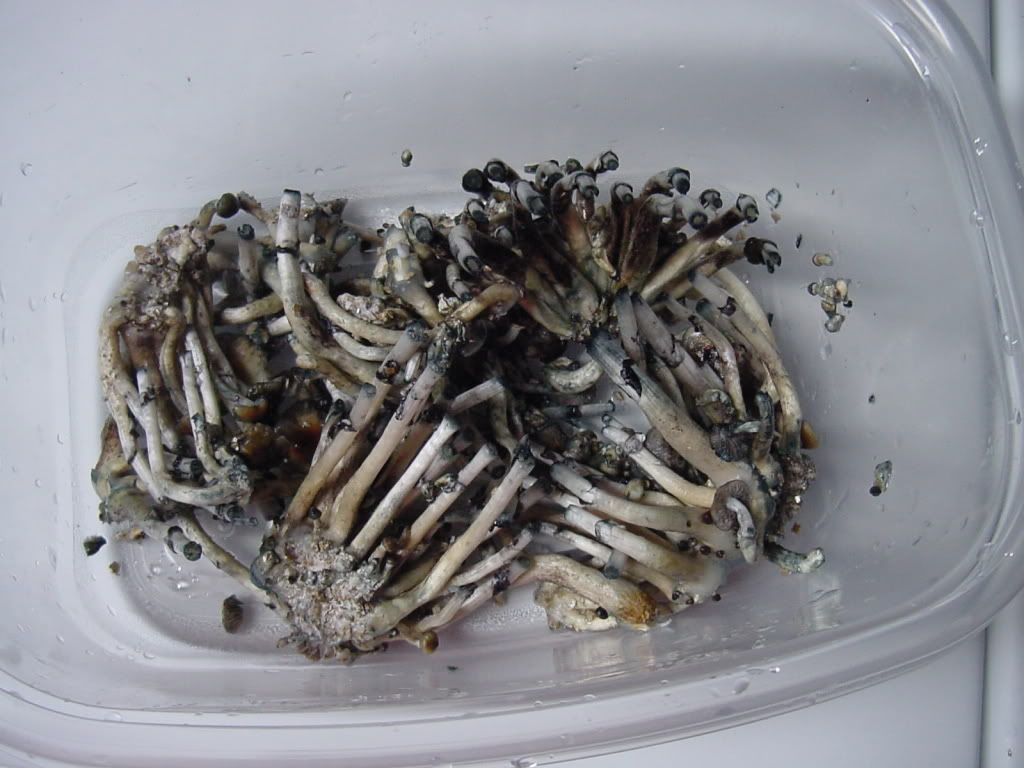
So now you have a bunch of stems lying around...
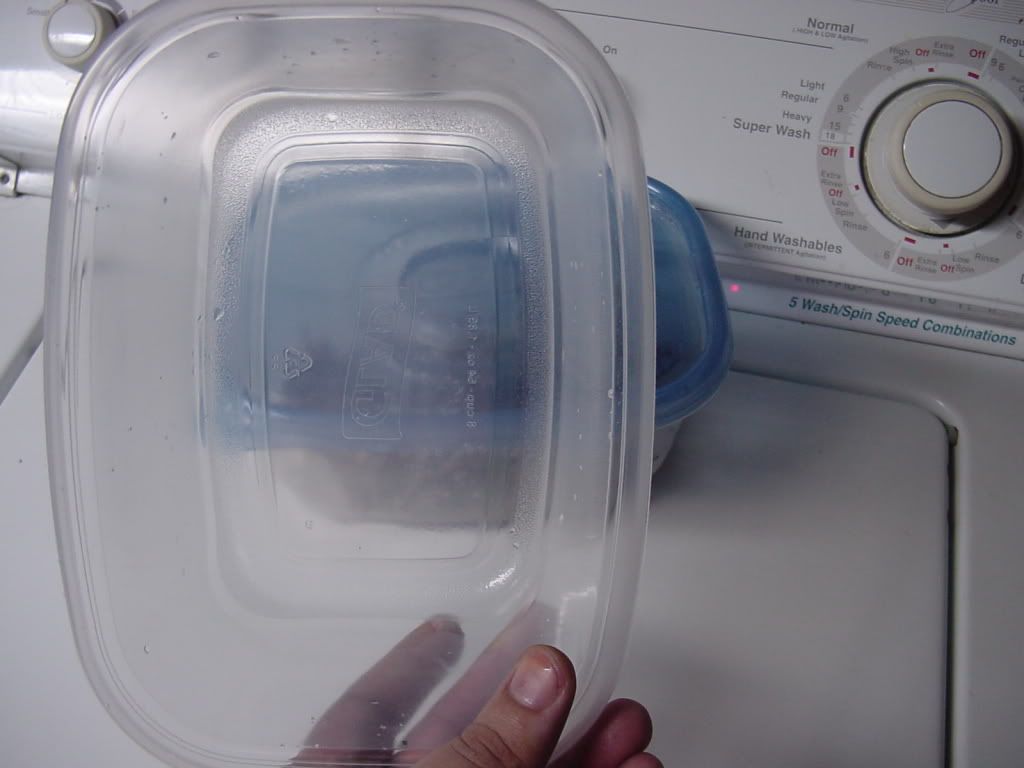
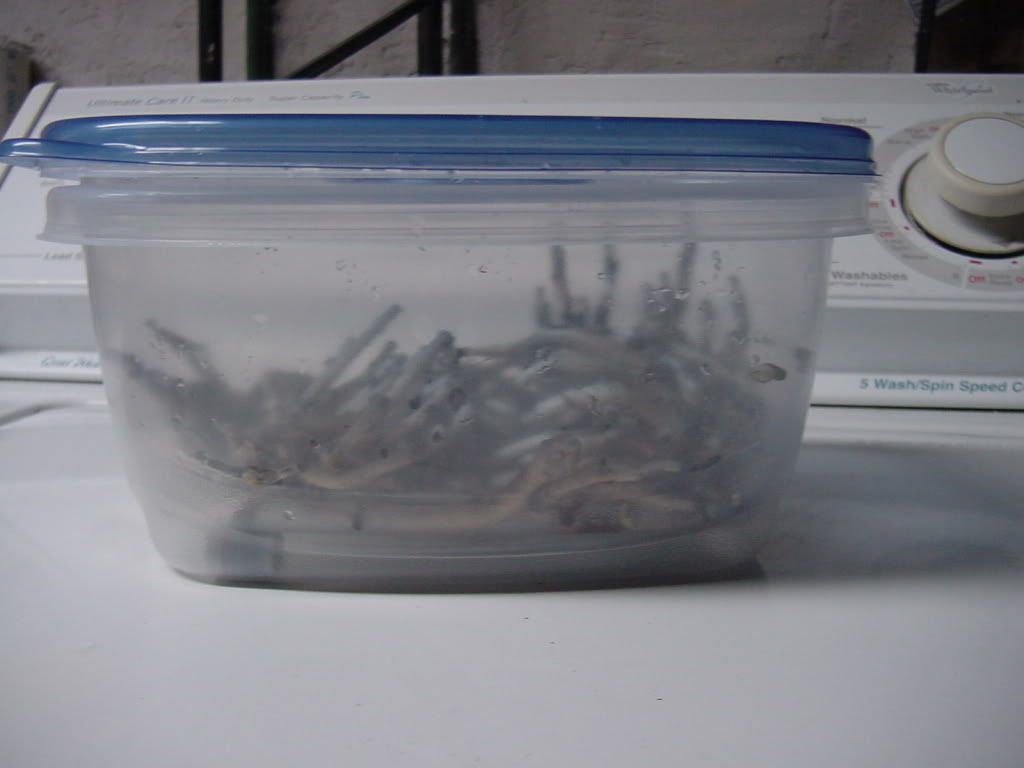
Let's dry them! Making a desiccant chamber is easy using 2 Glad tupperware bins. Leave one bin alone, and drill tiny holes in the bottom of the other...
I like to clean mine when they're fresh, so... do that or don't. :shrug: Then place them in the bin that has holes.
Put your desiccant in the other bin, place the other bin on top, put the lid on and let dry...
---------------------------------------------------------
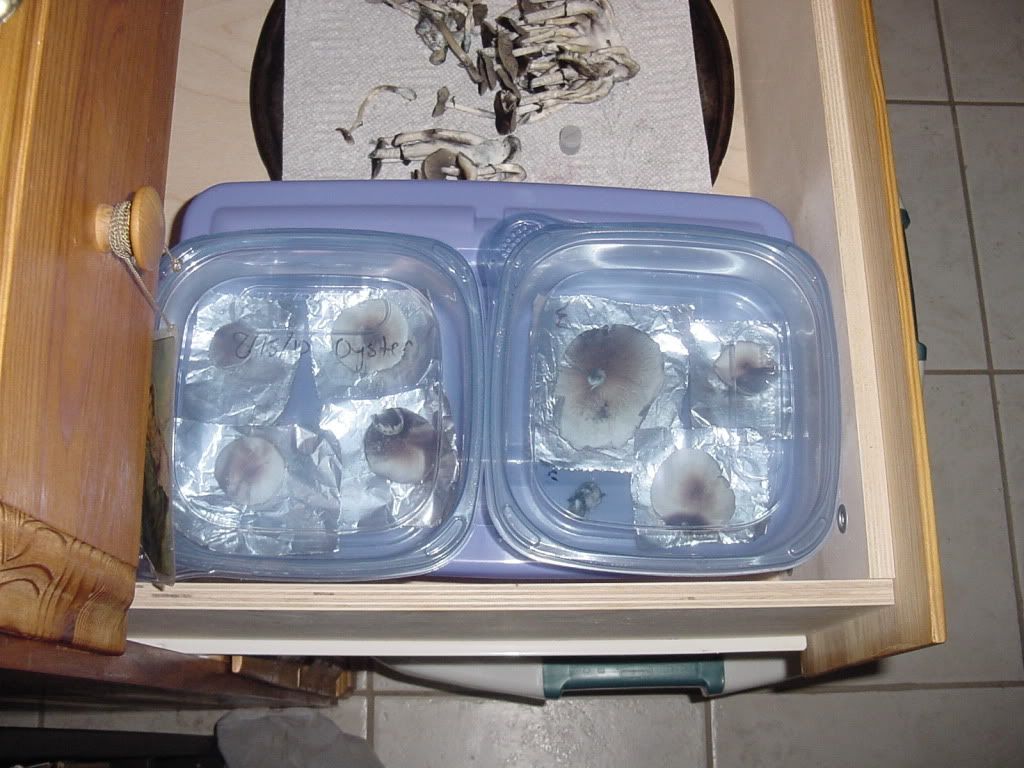
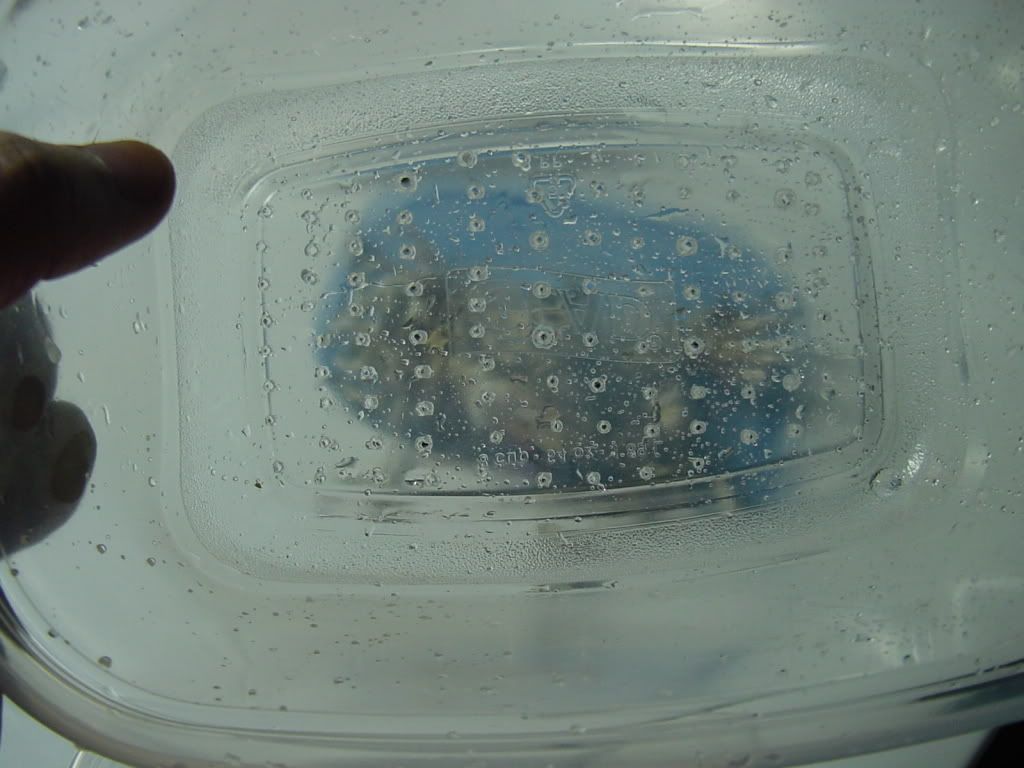
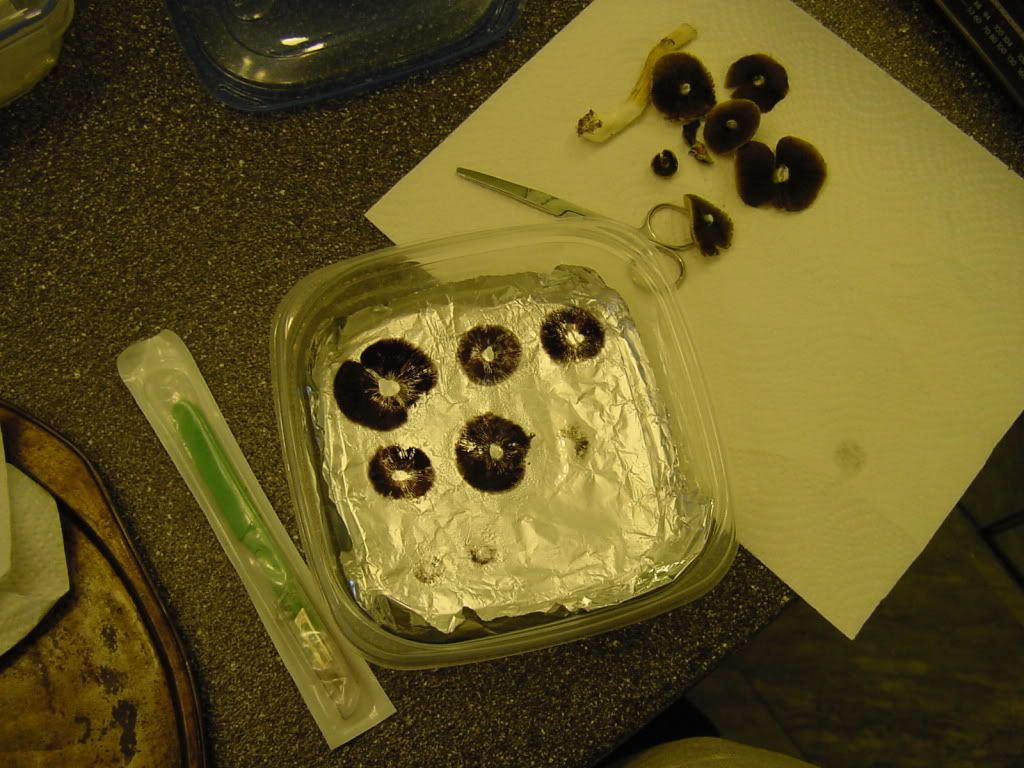
Wait 24-48 hours and remove the caps. Don't wait any longer b/c they will start to rot and ruin your prints. You might see some moisture on the prints which is normal...
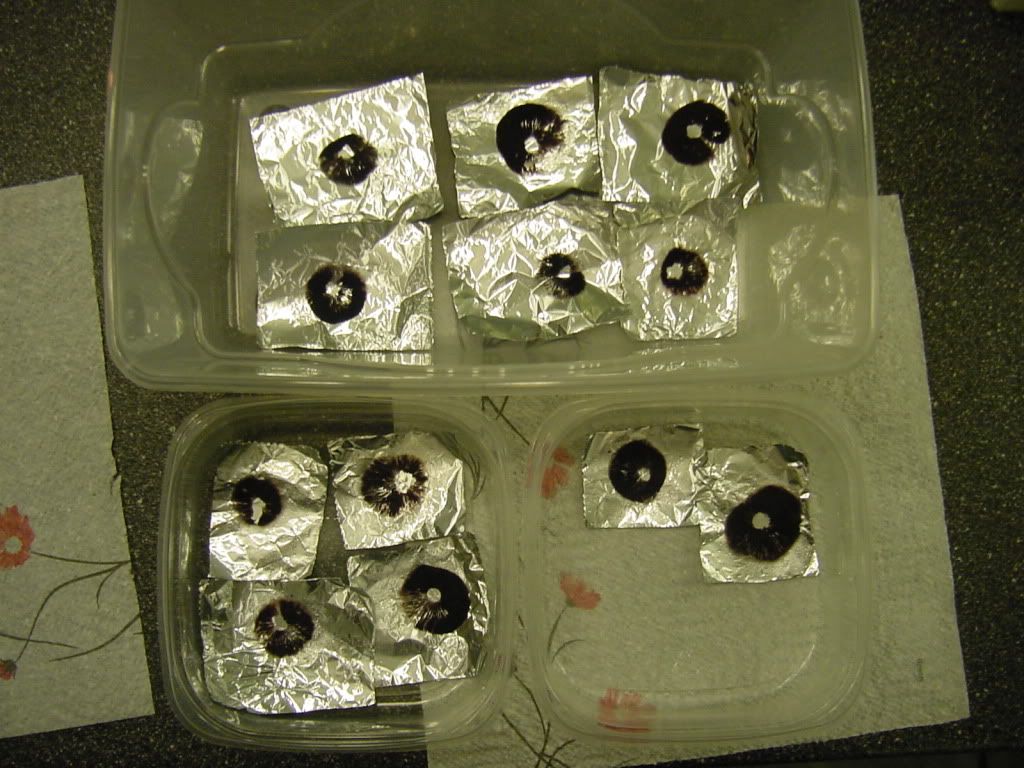
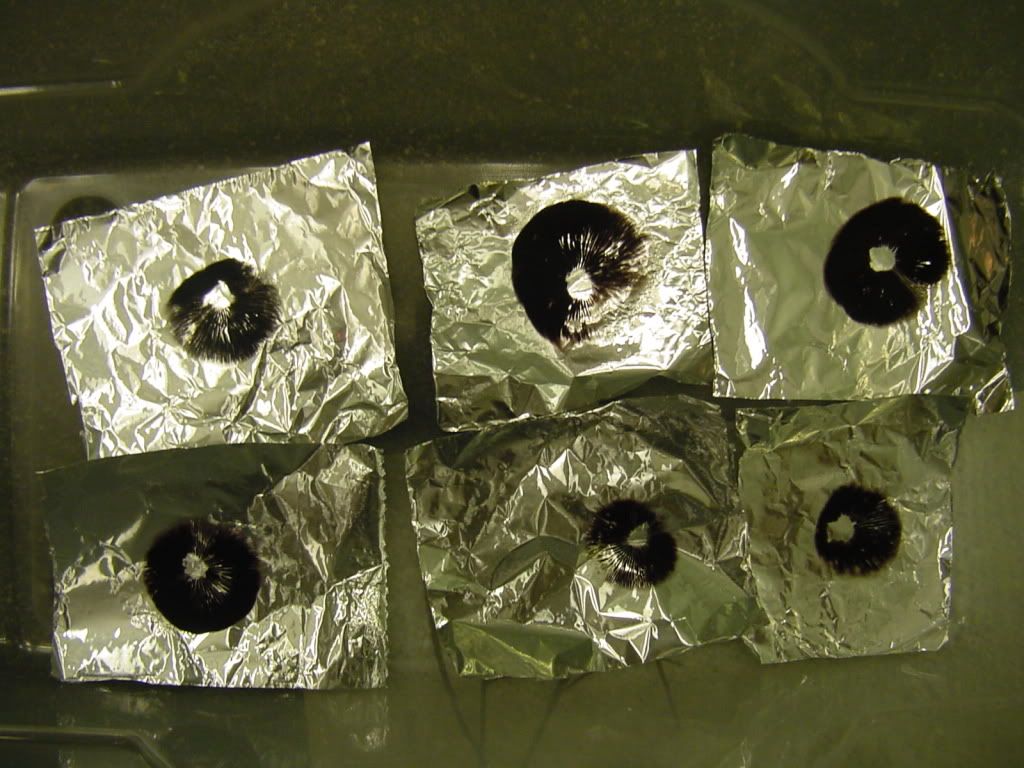
Allow them to dry out for about 3-4 days and the moisture will have evaporated..

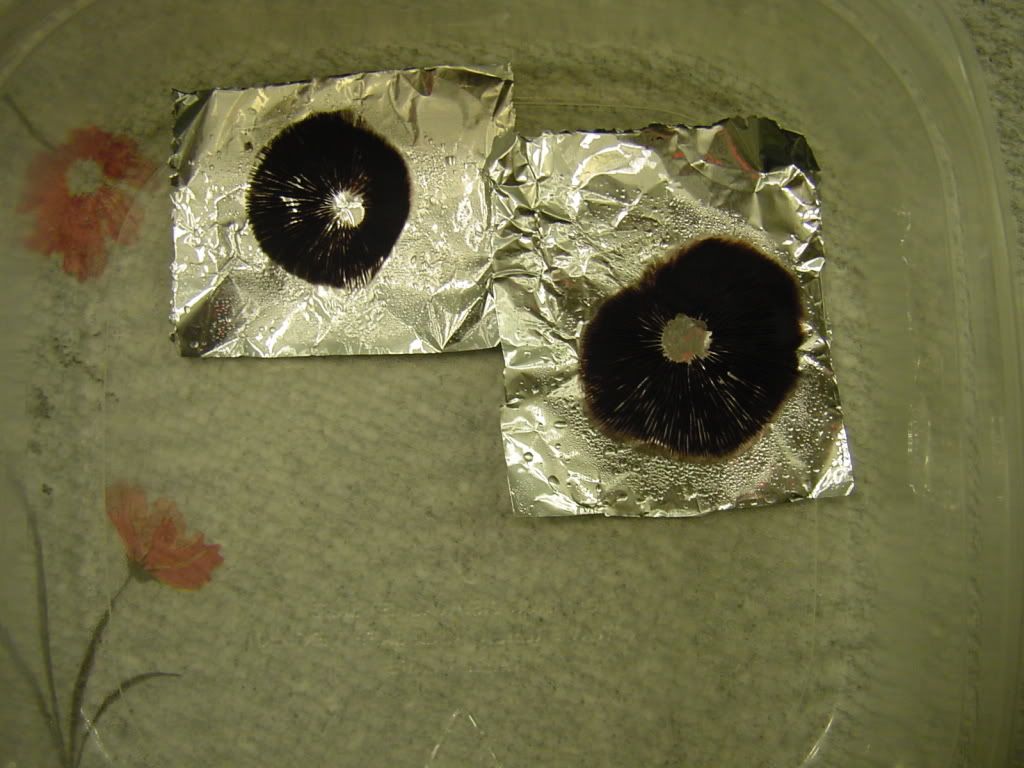
If you made your prints using one large sheet, it's time to cut them up. Use either a scalpel or scissors, whichever is easier...
You want to cut out large rectangles to package your prints. Again, I wiped down each side w/ rubbing alcohol and let dry...
Place your print inside the fold, then fold along each side and open end...

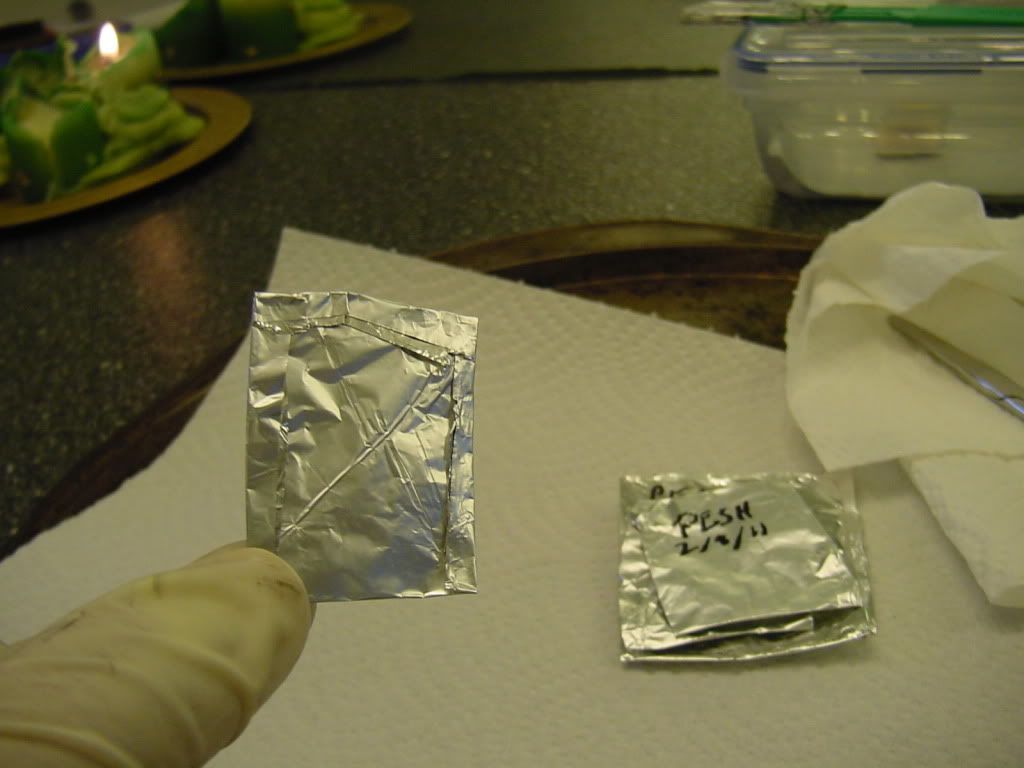
Don't forget to label and date your prints...

**ALL TOOLS AND CONTAINERS STERILIZED W/ EITHER RUBBING ALCOHOL, LYSOL, FLAME, OR A COMBINATION OF, WHERE APPROPRIATE!!!**
First get your supplies ready...
You can either cut out individual pieces of foil to line the bottom of your containers (pictured later) or you can use one big sheet, which I feel allows you to get the maximum amount of prints for the same amount of space. Whichever route you decide to take (even though RR says it's not needed) I like to wipe down each side of foil w/ rubbing alcohol and allow to dry...
Now it's time to take the caps off. Using either a scalpel or scissor that has been cleaned w/ rubbing alcohol and flame sterilized cut the stem as close as possible to the gills w/ out touching them...
Now it's just a matter of filling up your containers, putting the lid on, and storing in a dark place...
Here's some where I pre-cut the pieces of foil...
---------------------------------------------------
So now you have a bunch of stems lying around...
Let's dry them! Making a desiccant chamber is easy using 2 Glad tupperware bins. Leave one bin alone, and drill tiny holes in the bottom of the other...
I like to clean mine when they're fresh, so... do that or don't. :shrug: Then place them in the bin that has holes.
Put your desiccant in the other bin, place the other bin on top, put the lid on and let dry...
---------------------------------------------------------
Wait 24-48 hours and remove the caps. Don't wait any longer b/c they will start to rot and ruin your prints. You might see some moisture on the prints which is normal...
Allow them to dry out for about 3-4 days and the moisture will have evaporated..
If you made your prints using one large sheet, it's time to cut them up. Use either a scalpel or scissors, whichever is easier...
You want to cut out large rectangles to package your prints. Again, I wiped down each side w/ rubbing alcohol and let dry...
Place your print inside the fold, then fold along each side and open end...
Don't forget to label and date your prints...